Create client documentation so your client can run what you set up after you leave.
Use UIHike to capture the configuration steps while you work in the client’s systems, explain why each setting matters, and hand over a guide their team can follow without booking another call with you.
Write the client documentation while the work is in front of you.
Client documentation usually gets written at the end, from memory, when you’re already starting the next engagement. The reasons behind each setting get lost, so the client calls you the first time something needs to change. Document each part as you go instead.
1
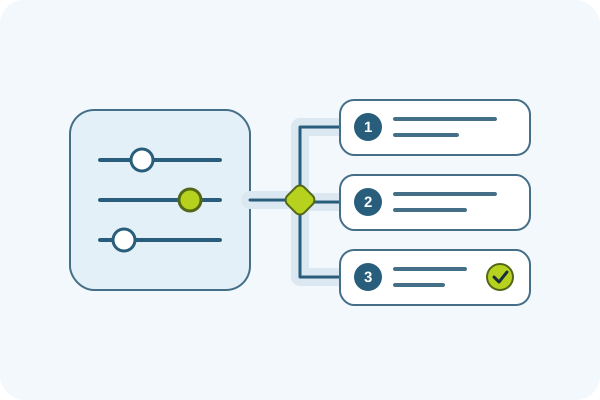
Configure
Capture the screens as you set up the client’s system.
2
Explain
Add why each setting is there and what to check.
3
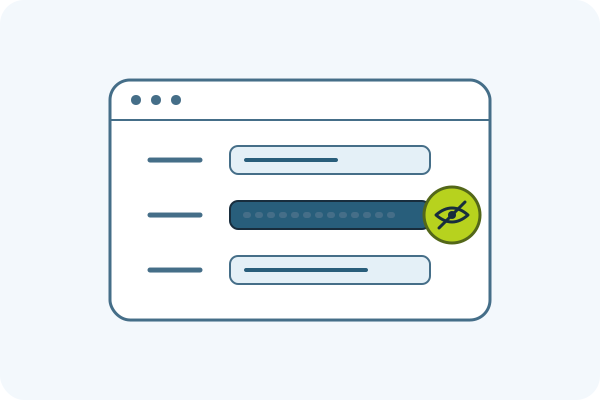
Hide client details
Blur IDs, names, and data the guide doesn’t need.
4
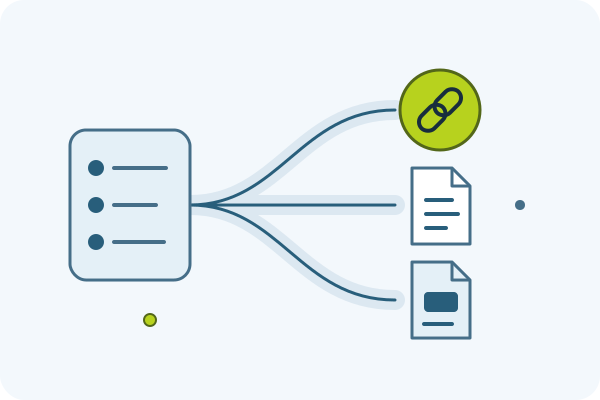
Deliver
Share a link or the file the client asked for.
How UIHike helps you document client work
While you configure
Capture the steps while you set up the client’s system.
Record the browser screens in order as you work in admin portals and web apps, and add window or region screenshots from desktop tools. When the configuration is finished, the steps are already in place.
Before you share
Hide client details before you share the guide.
Blur tenant IDs, account names, and customer records, or crop them out. Point at the right field with an arrow or box. Then check the final guide before it leaves your hands.
At handover
Deliver the format the client asked for.
Share a link their team can bookmark, or export a file for the project record. Use PDF, HTML, or Markdown. Word and PowerPoint exports need Microsoft Office installed on your PC.
Explain each setting next to the screen it changes.
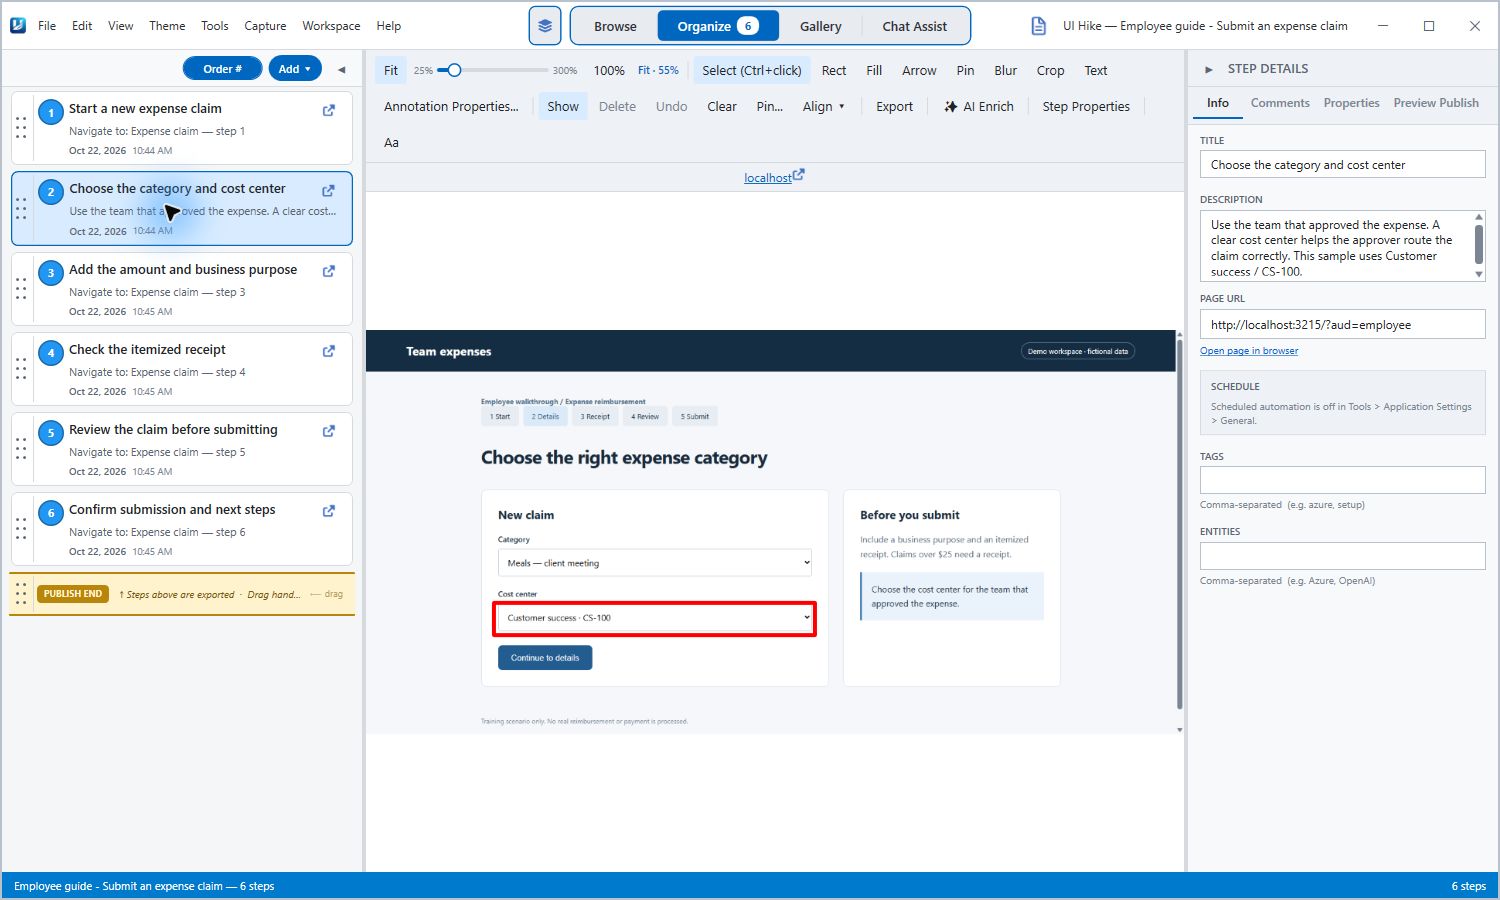
In the UIHike Windows app, every captured step has a title and a description. Use them for what the screenshot can’t show: why you chose a setting, what depends on it, and when the client should ask for help.
Draw a box or arrow around the field that matters.
Blur details the client’s readers don’t need.
Keep your working notes out of the published guide.
Real UIHike Windows app, shown with a fictional expense-claim demo rather than client work. Note the step description on the right and the Blur tool above the screenshot.View full size
An example engagement
See what the client’s admin receives.
A consultant sets up request routing for a fictional client, Northwind. The guide records each step and the reason behind it, so Northwind’s admin can change it later without calling the consultant.
Northwind support portal
Route billing requests to the right queue
5 steps · Prepared at handover
1
Open the request settings
Why: Use the admin account the client set up for their own team, not your consultant account.
2
Create the Billing queue
Why: Queue names appear to employees, so keep them in plain language.
3
Add the routing rule
Tenant ID hidden
Why: Rules run from top to bottom. Keep Billing above the general rule, or billing requests land in the wrong queue.
4
Set the escalation contact
Why: Use a shared mailbox so escalations still arrive when someone leaves.
5
Send a test request
Why: A test with “invoice” in the subject should appear in Billing within a minute. If it lands in General, check the rule order in step 3.
What Northwind’s admin can do without calling you
Add another queueThey can follow steps 2 and 3 for a new team.
Change the rule order safelyThe note explains what breaks if Billing moves down.
Check that routing worksThe test request shows what a correct result looks like.
Know when to ask for helpAnything outside the guide is a new piece of work, not a repeat question.
Illustrative example written for this page. Northwind is fictional, and this panel is not UIHike output.
What UIHike does, and what stays with your engagement.
UIHike helps you
Capture configuration steps in order
Explain settings beside the screenshots
Annotate and blur screenshots
Share a guide or export a file
It doesn’t replace
Your statement of work or sign-off
The client’s change approval process
Password, credential, or asset records
Live training, if the client needs it
Questions about client documentation
Can my client read the guide without installing UIHike?
Yes, if you publish it as a public or unlisted guide. Anyone with the link can read it in a browser without a UIHike account. Private guides need sign-in and the right access. You can also send a file instead. Publishing to the cloud requires an author account.
Can I deliver a PDF or Word document?
Yes. Use print or save as PDF from the Windows app’s publish options. Word and PowerPoint exports also exist, but they need Microsoft Word or PowerPoint installed on your PC. HTML and Markdown exports are available too.
How do I keep client information out of the guide?
Use test or sample records where you can. Blur or crop tenant IDs, account names, and customer data before you share, then check the final output and its access settings. Editing is non-destructive, so the original screenshots stay in your source project. Never capture passwords or keys.
Can one guide cover browser and desktop tools?
Yes. The Windows app can combine browser captures with window or region screenshots from desktop tools. Browser recording can keep URLs and interaction details; desktop screenshots do not carry the same browser information.
What if the client’s system changes after go-live?
Reopen the project, replace the affected screenshots, and update the notes. You don’t need to capture the whole process again. If you published the guide, update the published version too; saving the project alone does not change it.
How much does UIHike cost?
UIHike is free during the beta. Some features, such as AI credits and cloud storage, may cost money later, with notice in advance. See the current pricing page.
Document the next system you set up for a client.
Capture it in UIHike while you work. Add the reasons. Hand over a guide on the last day of the engagement.